It can be frustrating when your iPhone won’t charge, but don’t worry, there are several troubleshooting steps you can take to fix the issue. I’ll walk you through everything you need to check, ensuring that by the end of this guide, you’ll be well-equipped to handle a non-charging iPhone.
1. Check Your Charging Accessories
Start by examining the basics—your charging cable and adapter. These are the most common culprits when an iPhone refuses to charge. Here’s what you should do:
- Inspect the charging cable: Look for signs of wear, such as fraying or bent prongs. A damaged cable can interrupt the charging process, and using one in poor condition might harm your phone. If you notice any damage, switch to a different cable and test it.
- Check the power adapter: Like the cable, the adapter can also become faulty. Make sure it’s securely connected to the wall socket. If it’s not working, try using a different adapter, preferably one that’s Apple-certified.
- Try a different power source: Use a wall outlet, a computer’s USB port, or even a powered USB hub to see if one of these resolves the issue. If you’re using a computer, make sure it’s turned on and not in sleep mode.
This might seem basic, but faulty accessories are often the reason behind charging issues.
2. Examine the Charging Port
Debris or dust buildup inside the charging port can prevent the cable from making a secure connection. Here’s how you can clean it:
- Visually inspect the port: Grab a flashlight and look inside your iPhone’s charging port. Dust, lint, or small debris can easily get stuck in there.
- Gently clean the port: Use a clean, dry, soft-bristle toothbrush or a small, non-metal object like a toothpick. Carefully remove any debris without damaging the port. It’s crucial to avoid using anything metallic, as this could cause further damage.
Once the port is clean, plug the cable back in and check if your iPhone starts charging. A simple cleaning might be all it needs to work again.
3. Force Restart Your iPhone
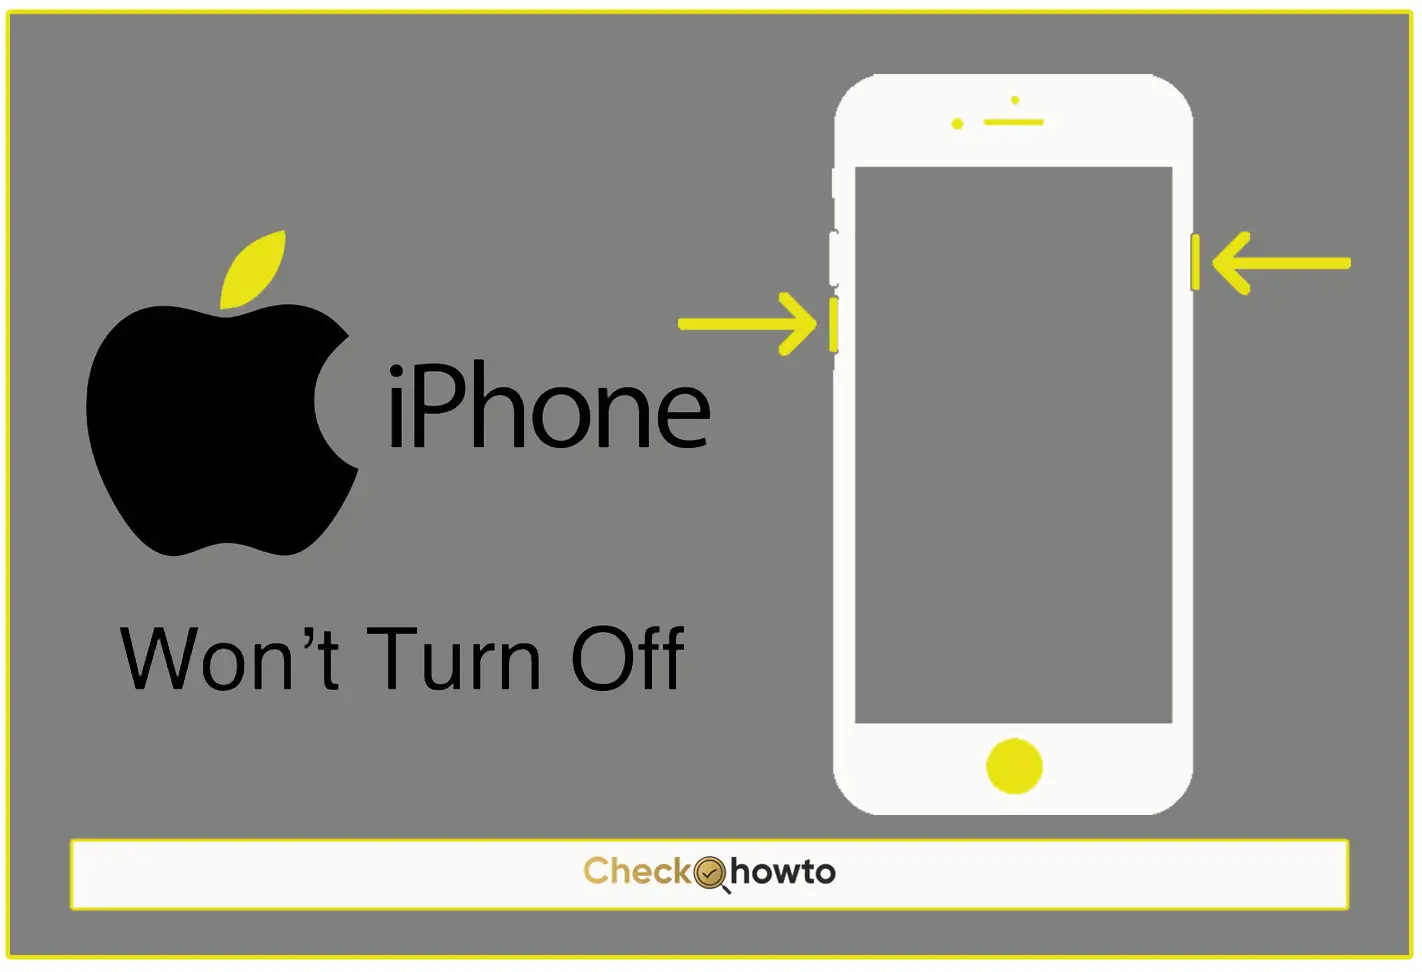
Sometimes, your iPhone might not respond to charging because of a software glitch. In such cases, a force restart can help:
- For iPhone 8 or later: Press and quickly release the volume up button, then press and quickly release the volume down button. Finally, press and hold the side button until the Apple logo appears.
- For iPhone 7 and 7 Plus: Press and hold both the side button and the volume down button until the Apple logo appears.
- For iPhone 6s or earlier: Press and hold both the side button (or top button) and the home button until the Apple logo appears.
After restarting your iPhone, plug it in and give it some time to see if it begins charging.
4. Check for Software Updates
An outdated version of iOS can sometimes cause charging issues, especially with newer accessories or technologies. Follow these steps to check for updates:
- Go to Settings.
- Tap General, then Software Update.
- If an update is available, tap Download and Install.
Installing the latest iOS version can fix bugs and improve your iPhone’s compatibility with chargers.
5. Try Wireless Charging (If Applicable)
If you have an iPhone 8 or later, it supports wireless charging. Here’s how you can test it:
- Make sure your iPhone charges normally using a USB cable first. If wired charging works but wireless charging doesn’t, the issue might lie with your wireless charger.
- Ensure that your iPhone is placed correctly on the wireless charging pad. Remove any thick cases or metallic objects that might interfere with charging.
Testing wireless charging can help identify whether the issue lies with the charging port or another component.
6. Allow Your iPhone to Charge for a While
Sometimes, when your iPhone’s battery is completely drained, it might take a while to show any signs of life. Plug it in and let it charge for at least 30 minutes before checking again. If the screen remains blank, you can try a force restart while the device is connected to power.
7. Check for Alerts or Messages
If you receive an alert saying that your accessory isn’t supported or certified, it could mean that your charging cable or adapter isn’t Apple-certified or is defective. In such cases:
- Make sure your accessory is Apple-certified.
- Try using a different cable or adapter.
- Ensure your iPhone is running the latest iOS version.
These messages typically appear due to issues with third-party accessories, but sometimes restarting your phone or switching cables fixes the problem.
8. Inspect for Overheating or Optimized Charging
Sometimes, your iPhone might stop charging at 80% due to a feature called Optimized Battery Charging. This feature helps slow battery aging by delaying charging past 80% until it’s needed.
If your iPhone is overheating, charging might pause to prevent damage. Try moving your phone to a cooler location and allow it to charge once it cools down.
Additionally, check if you’ve accidentally enabled 80% Limit on iPhone 15 models. If so, this setting might stop your phone from charging past 80%. You can turn it off by navigating to Settings > Battery > Battery Health & Charging.
9. Seek Professional Help
If none of these steps resolve the issue, it might be time to contact Apple Support or visit an Apple Store. Your iPhone’s charging port could be damaged, or there might be an internal hardware issue that needs professional attention. Be sure to bring along your charging accessories when you go.
You can set up a service appointment through Apple’s website or contact Apple Support directly for more guidance.
Conclusion
Dealing with an iPhone that won’t charge can be stressful, but following these steps usually solves the issue. Whether it’s a simple accessory swap or cleaning out the charging port, many problems have easy fixes. And when all else fails, Apple Support is just a phone call or visit away. Hopefully, by now, you’ve resolved the issue and your iPhone is charging like normal.
Related Post;
How To Find Apple ID On iPhone
How to Fix iPhone Won’t Turn Off


